
Introduction
Since the introduction of the Large Language Models I have been intrigued to experiment with them and I was concerned about their potential introduction in the company’s documentation and information retrieval processes. The main concern is, of course to make sure that the internal data remains private and that does does not become part of the data sources used to train OpenAI’s chatGPT.
I was then attracted by an article from PyCoach, which mentioned a project by Iván Martínez. The main point of the project is to create an open and free LLM, with a focus on privacy. You can find the GitHub repo here.
I was so inspired that I decided to create my own private Large Language Model (LLM), in order to ingest and process documents in a secure way.
I first tried to install it on my laptop, but I soon realised that my laptop didn’t have the specs to run the LLM locally so I decided to create it on AWS, using an EC2 instance. Here are the logical steps that you have to follow to do the same
1. Creating an EC2 instance
Let’s first visit the AWS website and get to the EC2 service page
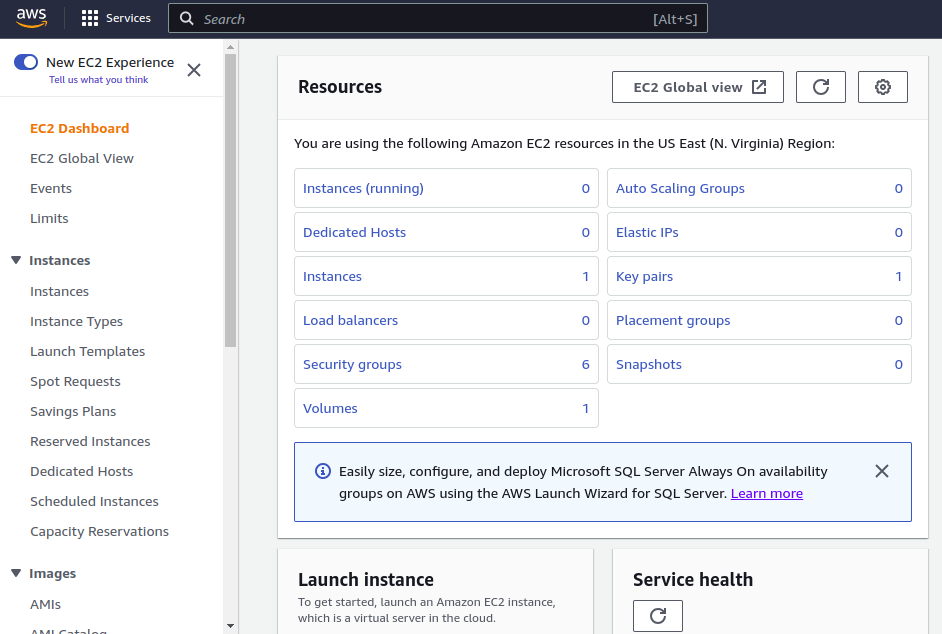
Let’s start by going into the EC2 section of the using an Ubuntu 22.04 image
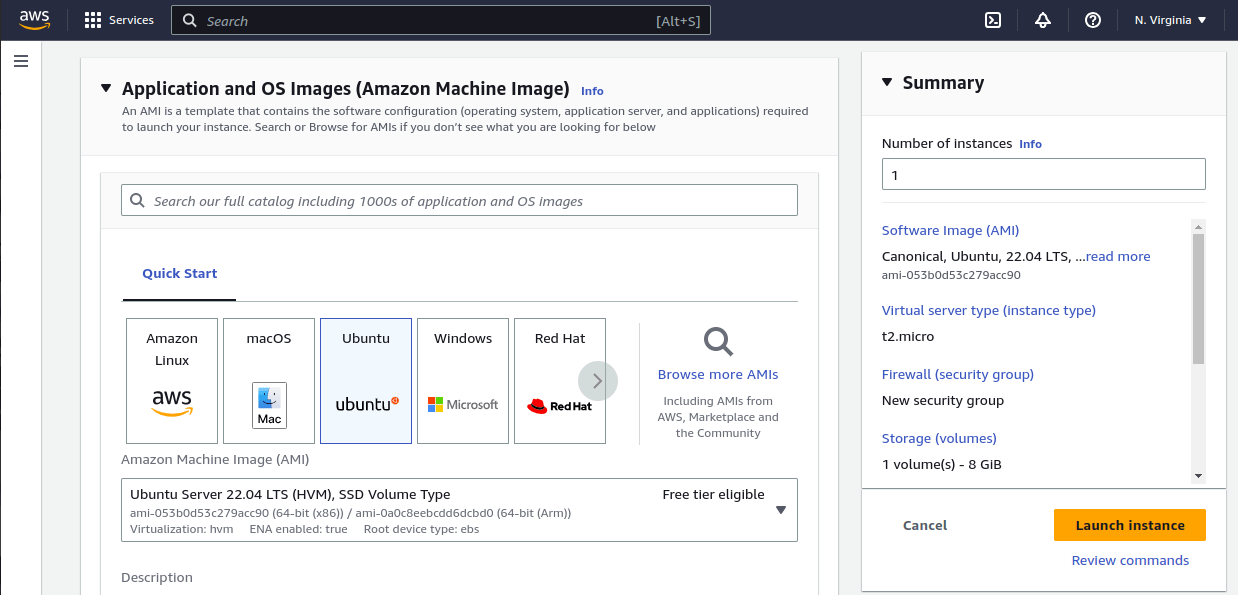
Now, let’s make sure you have enough free space on the instance (I am setting it to 30GB at the moment)
If you have any doubts you can check the space left on the machine by using this command
df -BM2. Setting Up Key Pairs
Create a new key pair and download the .pem file and store it somewhere safe.
Change the permissions of the key file using this command
chmod 400 ~/Documents/aws/privateGPT.pemOtherwise, you won’t be able to log in as EC2 will refuse the connection lamenting that the permissions are too open. Now you should be able to SSH into the machine you have just created by typing the command
ssh -i ~/path/to/privateGPT.pem [email protected]3. Checking AVX/AVX2 compatibility
The main issue I’ve found in running a local version of privateGPT was the AVX/AVX2 compatibility (apparently I have a pretty old laptop hehe).
This is not an issue on EC2. If you want to double check that this is the case you can use the command:
grep avx /proc/cpuinfo4. Install Python 3.10 and pip
Python 3.10 is essential for running privateGPT.
First, to ensure that your system is updated and the required packages installed, type in the following command:
sudo apt install software-properties-common -yThen, proceed and add the deadsnakes PPA to the APT package manager sources list as below.
sudo add-apt-repository ppa:deadsnakes/ppaWith the deadsnakes repository added to your Ubuntu system, now download Python 3.10 with the single command below.
sudo apt install python3.10Finally, you can install pip3
sudo apt install python3-pip5. Setting Up the Environment
Now, we will check that git is installed
gitClone the privateGPT repository
git clone https://github.com/imartinez/privateGPT.gitThen, navigate to the cloned directory
cd privateGPT/and install the requirements using pip
pip3 install -r requirements.txt6. Downloading the LLM
Change the name of the environment variables file name using the mv command
mv example.env .envCreate a folder that will contain the LLM
mkdir models
cd models/
And now use wget to download the actual LLM file (it might take a while, the file is around 3.5GB)
wget https://gpt4all.io/models/ggml-gpt4all-j-v1.3-groovy.bin7. Adding Documents to the Machine
That’s when the fun begins! The repo comes with an example file that can be ingested straight away, but I guess you won’t be interested in asking question around the state of the union speech. So you can navigate into the folder first, and then make sure that it doesn’t contain any files using these commands.
cd ../
rm source_documents/*
Now, you can add the files you would like to ingest and ask questions about using SCP. Remember that you will have to pass also the pem file as a parameter to make a secure connection to the machine
scp -i ~/path/to/privateGPT.pem ~/path/to/document.extension [email protected]:~/privateGPT/source_documentsIt’s finally time to ask questions about your documents!
I love the fact that PrivateGPT supports a variety of different commonly used formats. The currently supported extensions are:
.csv: CSV,.docx: Word Document,.doc: Word Document,.enex: EverNote,.eml: Email,.epub: EPub,.html: HTML File,.md: Markdown,.msg: Outlook Message,.odt: Open Document Text,.pdf: Portable Document Format (PDF),.pptx: PowerPoint Document,.ppt: PowerPoint Document,.txt: Text file (UTF-8),
Now, there are two key commands to remember here. The first one will ingest any document available in source_document folder, automatically creating the embeddings for us.
cd ~/privateGPT
python ingest.py
The second will create an interactive session where we can ask questions about the ingested documents
python privateGPT.pyThat’s it! You just created your personal LLM that will answer questions about any document you decide to ingest. Only the sky is the limit now.
As a final note is worth mentioning that this project is still a working progress and that the solution is nowhere near production ready, as it is not focused on performance, but on privacy. Getting a single answer on a small can indeed take several minutes.
Subscribe
Did you find value in this article? Don’t miss out on more insights like this. Sign up for my email newsletter and get the latest articles delivered right to your inbox!
